
Let's do a checklist first!
- Comfy shoes on (check),
- Plan of action ready to go (check),
- Recipes gathered & you have previously shopped for all ingredients (Check, Check),
- You have them all laid out on the counter and grouped together according to types
- Dishwasher &/or strainer is emptied and sink is filled with HOT sudsy water
(Check, Check, Check & Check!!)
You are NOW ready to proceed with your plan!

- While something is simmering, sauteing, baking, or boiling- chop something else.
- While you're chopping, Onions for instance- think about how many onions need to be diced, sliced, or minced and do all onions at once and separate according to each recipe.
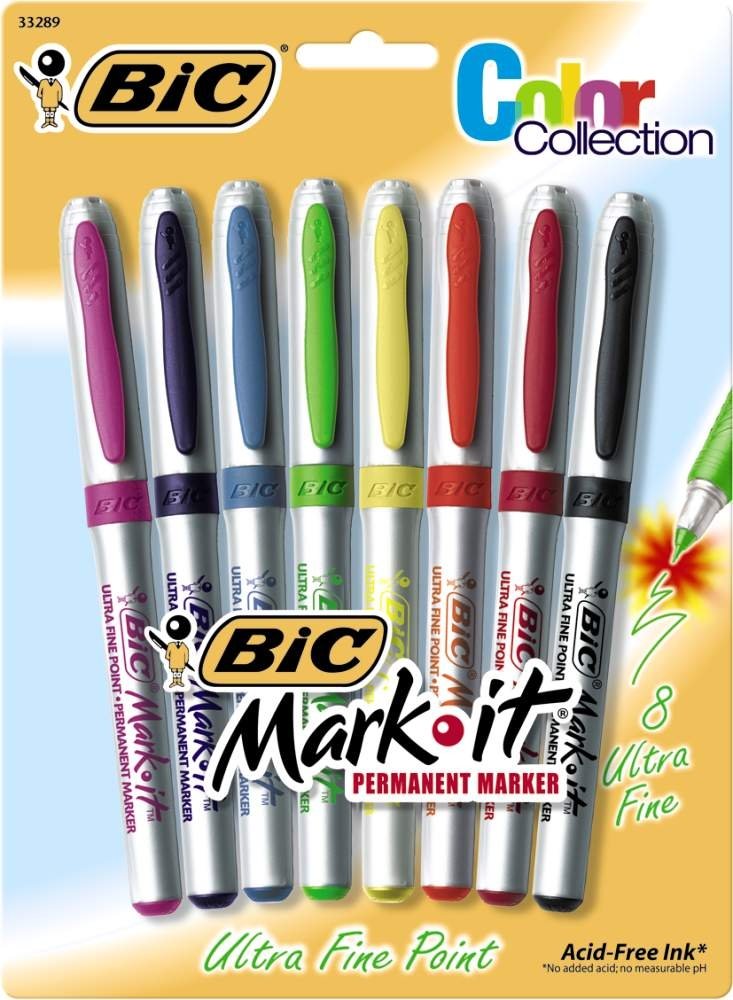
- Label freezer bags with smear-proof markers, (These pens will change your life! LOVE these pens!!!) include date and contents. IF necessary include instructions and other items needed on hand to complete the meal.
- Thinking ahead of steps like this can whittle away total time of prepping.
Food safety is extremely important, be sure to handle one protein at a time. Thoroughly wash your hands especially when handling raw poultry and eggs, don't forget countertops, all kitchen equipment and utensils used, hence, the sink filled with hot soapy water, after each protein has been packaged away.
Typically I only do dinner prepping once every 1-2 months. Once I see the freezer inventory getting low I start squirreling away as much as I can from the grocery fund, and that week we eat out of pantry storage only purchasing limited perishables.
My personal choice for freezer containers is Ziploc Brand double zip FREEZER Bags, (not the sliders, I find them too difficult to quickly add proteins, time is a precious commodity when doing a session!) QT, Gallon, or 2 Gallon sized Freezer Storage Bags. If budget is tight I will use store bargain brand, yet I wouldn't trust them to thaw in my fridge without a container under it nor would I trust them to fast-freeze in the freezer without a lined baking sheet under it.
My personal choice for freezer containers is Ziploc Brand double zip FREEZER Bags, (not the sliders, I find them too difficult to quickly add proteins, time is a precious commodity when doing a session!) QT, Gallon, or 2 Gallon sized Freezer Storage Bags. If budget is tight I will use store bargain brand, yet I wouldn't trust them to thaw in my fridge without a container under it nor would I trust them to fast-freeze in the freezer without a lined baking sheet under it.
- Fast Freezer Tip: Freeze Meals FLAT in Ziploc Freezer bags on a lined baking sheet. ONCE completely frozen arrange according to Protein/Meal type (However you want to arrange your Freezer Pantry.) line them up vertically in a breathable, vented basket.
- Doubling your freezer capacity while safeguarding against any leakage!
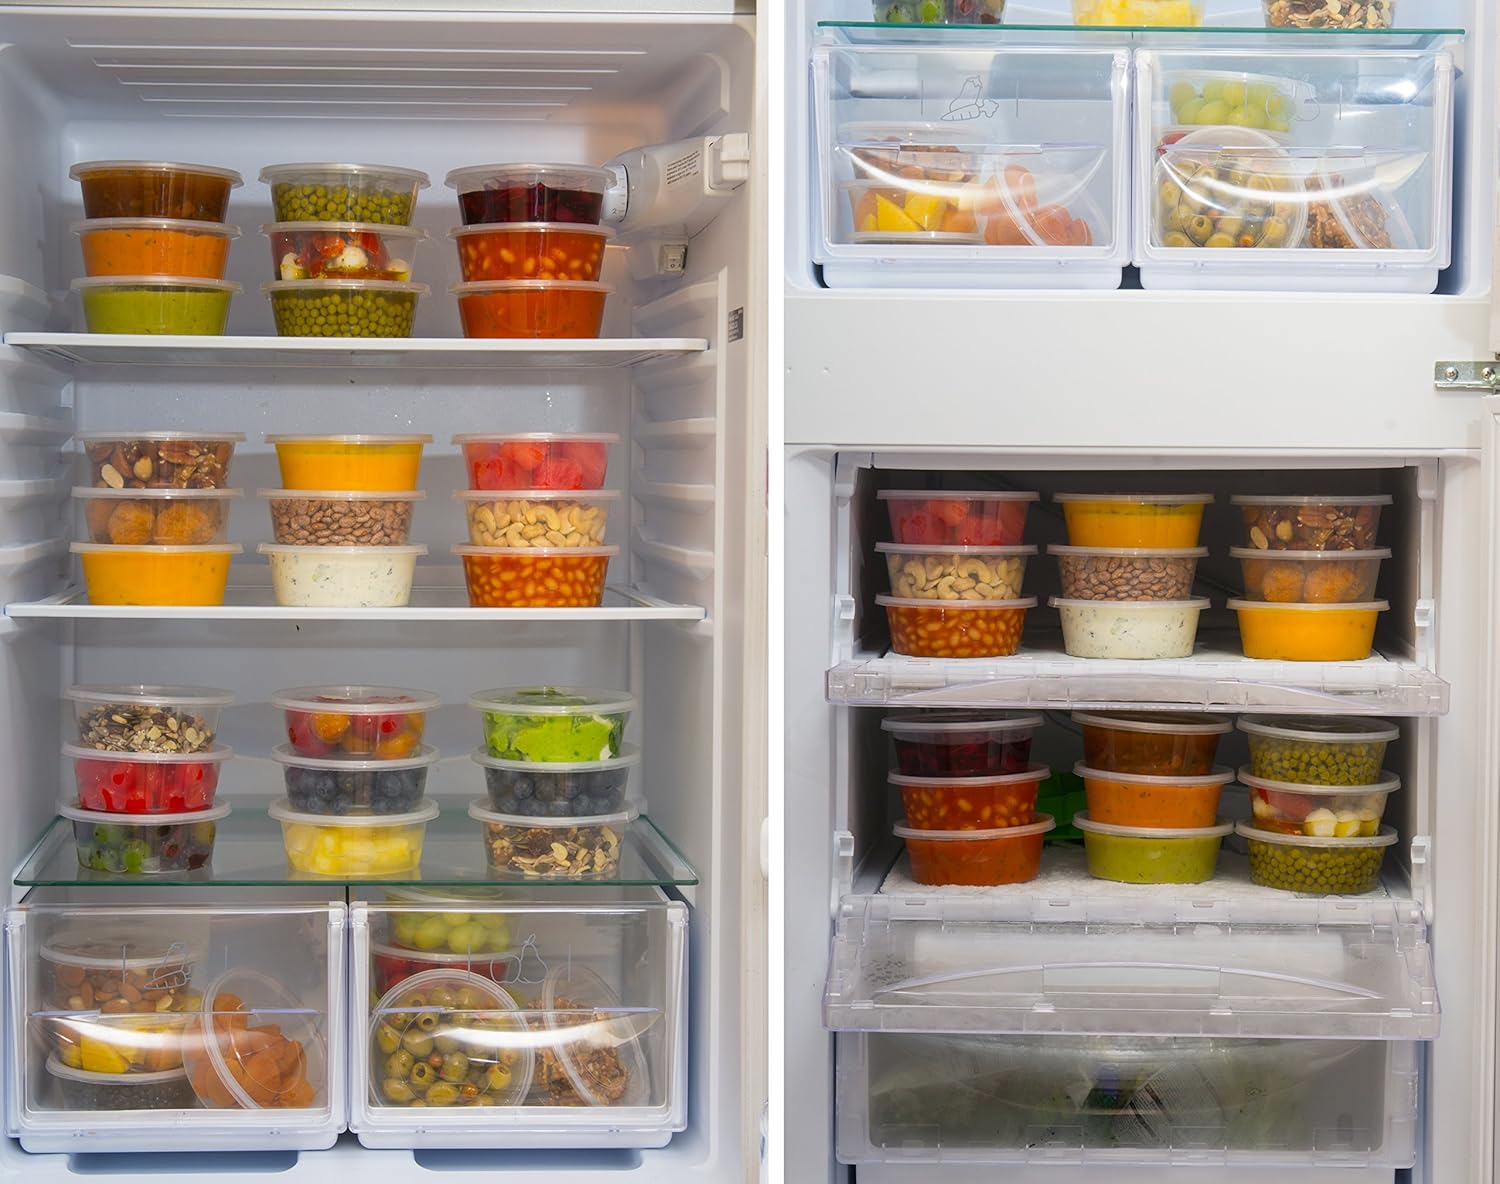
Sunday is my typical day to "meal prep" for breakfasts, snacks, and lunches for the week. In my Menu Monday and Meal Planning posts, I include what breakfast, lunch and snack options I am making for that week.
My weekly prep is slightly different than my Freezer sessions, although the approach is the quite similar- (One protein at a time, clean kitchen to start, hot sudsy water in the sink, and all ingredients out and in order...) yet I am more methodical towards the ingredient placement and storage container choices.
I love these containers! The size is just right for snacks and can substitute bento boxes for a 1/3 of the price of those fancy containers! Speaking of cost effectiveness--> In case someone accidentally throws them away- I don't flip a lid (pun totally intended!), and speaking of lids-->it is leak proof- yay! and it is great for portion control! It is safe for the freezer (up to -20 degrees), Great for Meal prepping lunches and breakfast in the refrigerator, and the manufacturer says microwave-safe (under 120 degrees)*.
* I wouldn't use the dishwasher, the temps might warp as typical dishwashers reach over 120 degrees. They are thicker than typical deli containers and are BPA free, so no worries with leaching chemicals once heated, I personally won't reheat/cook using plastic "anything" in the microwave.
 When I make my freezer meal kits, I just dump the ingredients in the Ziploc Freezer bag, squeeze all the air out I can, zip it tightly and call it DONE! Fridge Meal Prep is
slightly different, especially when creating sensational salads like this one on the left-hand side! (Ziploc is not supporting this post, I just happen to be a fan of most of their products!)
The wettest part of your salad goes on bottom, build the rest of your salad from the bottom to the top based on the heartiness of the ingredient. Hence the fragile greens on top! I haven't used this Ziploc container before, however I think it is one of those Twist N Loc containers found here.
Next week I will conclude the Meal Prepping series with final tips and tricks to help you when you are on the road ALL day! You know we all have days like this:
8:45 Son's Bus
9:45 Fitting for Son's new Braces
11:00 am Meet w/clients to plan for February's SM Campaign
12:00-1:30 Groceries and lunch
1:30 Drop off donations to T.L.C.
2:30 pm Eye Doctor App
3:45 Son's Bus
5:15 Ballet
6:30 Conference
7:00 pm AHG meeting
8:30 pm pick up daughter
**This post may contain affiliate links that help support this blog and my family. I list the products that have helped me and I use- occasionally I will list products that I am planning to use! Thank you for your support! :-)
My weekly prep is slightly different than my Freezer sessions, although the approach is the quite similar- (One protein at a time, clean kitchen to start, hot sudsy water in the sink, and all ingredients out and in order...) yet I am more methodical towards the ingredient placement and storage container choices.
 |
| Link |
I love these containers! The size is just right for snacks and can substitute bento boxes for a 1/3 of the price of those fancy containers! Speaking of cost effectiveness--> In case someone accidentally throws them away- I don't flip a lid (pun totally intended!), and speaking of lids-->it is leak proof- yay! and it is great for portion control! It is safe for the freezer (up to -20 degrees), Great for Meal prepping lunches and breakfast in the refrigerator, and the manufacturer says microwave-safe (under 120 degrees)*.
* I wouldn't use the dishwasher, the temps might warp as typical dishwashers reach over 120 degrees. They are thicker than typical deli containers and are BPA free, so no worries with leaching chemicals once heated, I personally won't reheat/cook using plastic "anything" in the microwave.
When I make my freezer meal kits, I just dump the ingredients in the Ziploc Freezer bag, squeeze all the air out I can, zip it tightly and call it DONE! Fridge Meal Prep is slightly different, especially when creating sensational salads like this one on the left-hand side! (Ziploc is not supporting this post, I just happen to be a fan of most of their products!)
The wettest part of your salad goes on bottom, build the rest of your salad from the bottom to the top based on the heartiness of the ingredient. Hence the fragile greens on top! I haven't used this Ziploc container before, however I think it is one of those Twist N Loc containers found here.
Next week I will conclude the Meal Prepping series with final tips and tricks to help you when you are on the road ALL day! You know we all have days like this:
8:45 Son's Bus
9:45 Fitting for Son's new Braces
11:00 am Meet w/clients to plan for February's SM Campaign
12:00-1:30 Groceries and lunch
1:30 Drop off donations to T.L.C.
2:30 pm Eye Doctor App
3:45 Son's Bus
5:15 Ballet
6:30 Conference
7:00 pm AHG meeting
8:30 pm pick up daughter
This was an actual day from my calendar! I know most of you have days just as busy or busier than this, thankfully only 1-2 days a/week are this busy!! But during these crazy days, how do I keep myself from going into a diabetic coma, my daughter getting hangry and stay on budget all the while including actual learning?
Stay tuned for my plan of action!
**This post may contain affiliate links that help support this blog and my family. I list the products that have helped me and I use- occasionally I will list products that I am planning to use! Thank you for your support! :-)
Thanks for this precious information i really appropriate it.
ReplyDeleteTop Hospital Apps
YW Cjarren.
ReplyDelete